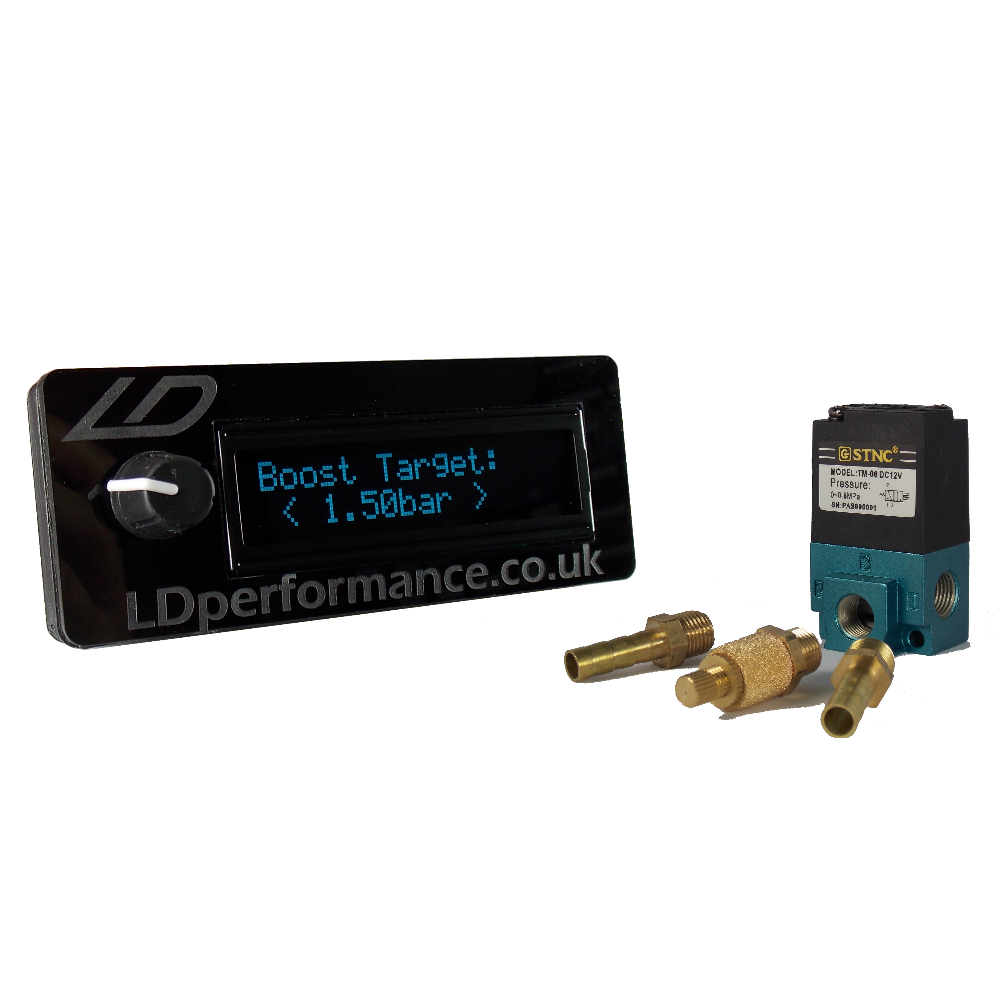


Features
- High-visibility OLED display shows boost in real-time
- Internal MAP sensor for up to 3bar boost
- Adjustable DUTY and Target Boost
- Fast response and no target overshooting
- Boost by RPM
- Hi/Lo boost settings
- Overboost safety protection
- Shows current boost and duty on screen
- Can show boost in BAR or PSI
- Works with 3-port solenoid valve
- Size: LxHxThinckness: 118x44x17mm
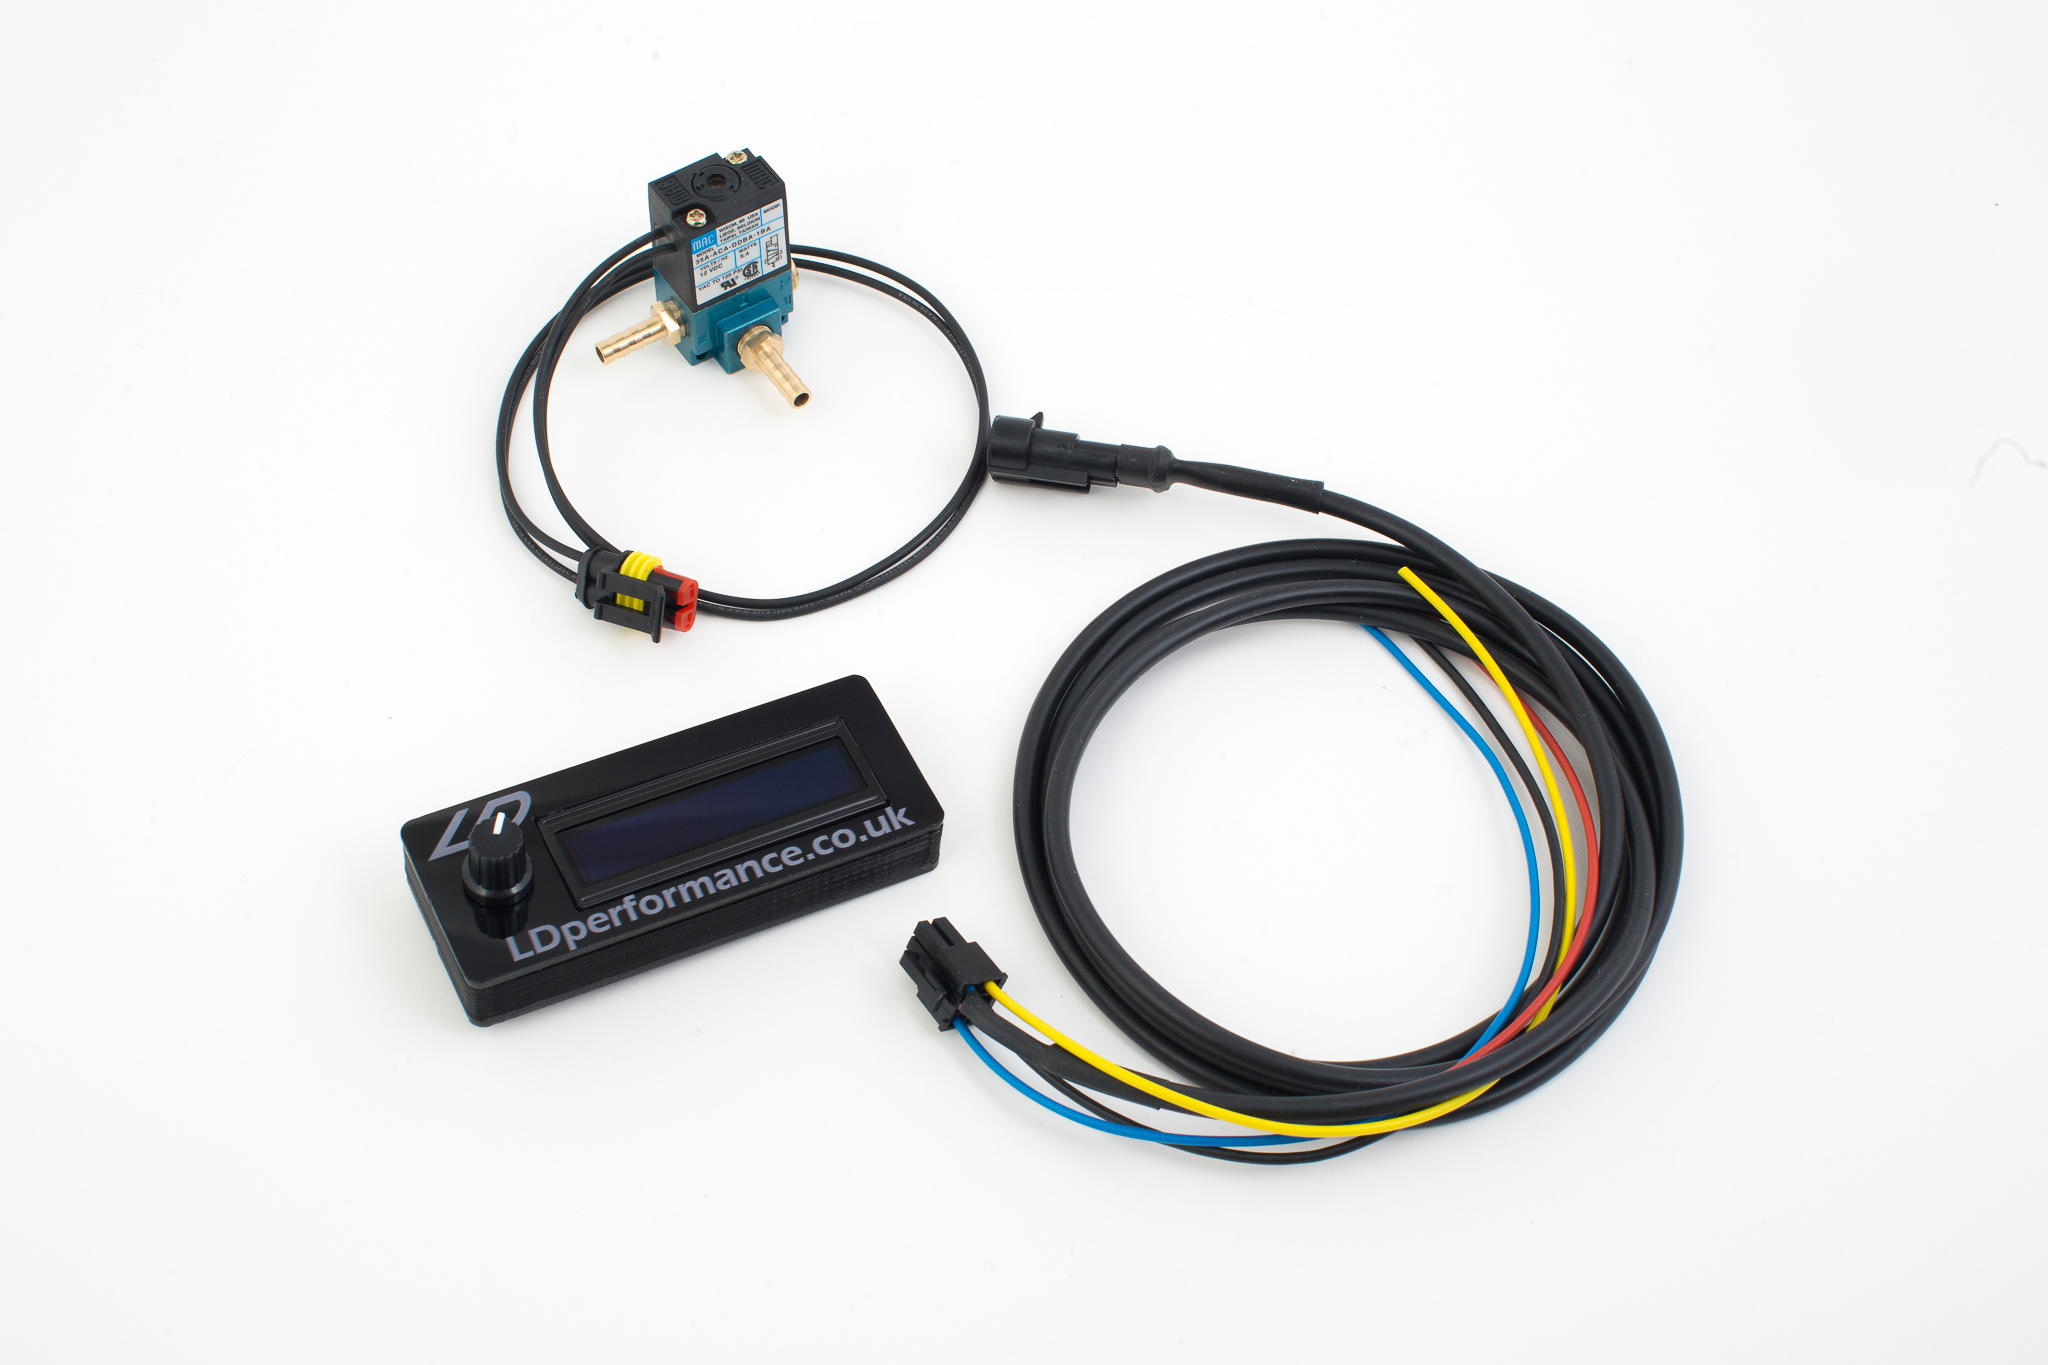
Wiring Diagram

Wiring diagram
On the back of the unit is a 4 pin connector. Power wires: Middle left- 12V power – Connect to a 12V power source which is active when the ignition is ON. Middle right – Ground – Connect to a ground wire or chassis. Solenoid connection: Top left – Control signal to Solenoid valve Middle left – 12V power The solenoid uses the same 12V which also powers the Controller. Additional functions: Hi/Lo Boost mode setting – connect an external switch to ground to change between High and Low boost settings. RPM from tachometer output or ignition coil (5v signal)
Solenoid Ports

Solenoid ports
1 – Filter to atmosphere 2 – Wastegate 3 – Turbo pressure Make sure the nut on the air filter is loose so air can get out easily.
External Wastegate
Option 1: 
-
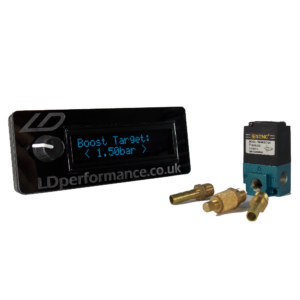
Electronic Boost Controller
$129.00 – $173.00 Select options This product has multiple variants. The options may be chosen on the product page